the end of the printing unit. The paper must cover the groove on the left side of the unit or printer
will give the "paper out" alarm.
(4) Open the tractor covers and place the first two holes on each side of the paper over
the tractor pins. Then, close the covers. To adjust the tractors for the width of the paper, pull the
lock levers forward, slide the tractors into position, and push the levers back to the lock position.
(5) Close the rear cover and make sure the paper separator is flat on the printer. Open
the guide wire, which keeps paper from curling back into the printer, and close the access cover.
(6) Turn on the printer. The printhead moves to the left side of the unit and the control
panel lights up. The ALARM light comes on to let you know that no paper is loaded.
Do not use the form feed button on the control panel to load paper.
(7) Pull the bail lever forward. The paper feeds into the printer and the ALARM light
goes out. If the paper will not feed, check to make sure the paper lever is in the forward position
and push the bail lever back to close the bail.
(8) Adjust the paper by using the platen knob located to the right side of the printer.
Then press the SEL button on the control panel. When it comes on, the printer is ready to print.
(9) Make sure the paper is held in place by the bail. If the top of the page is set below
the bail, a paper jam can result.
(10) The next step would be to run a test on the printer to make sure it is working
properly. To run a test page, press the MODE and TOF/QUIET buttons with the POWER and
MENU lights on. This gives you a sample of the default print style and information about the
printer. To stop this test, press the MODE button. Save the print in case you need to get your
printer serviced.
d.
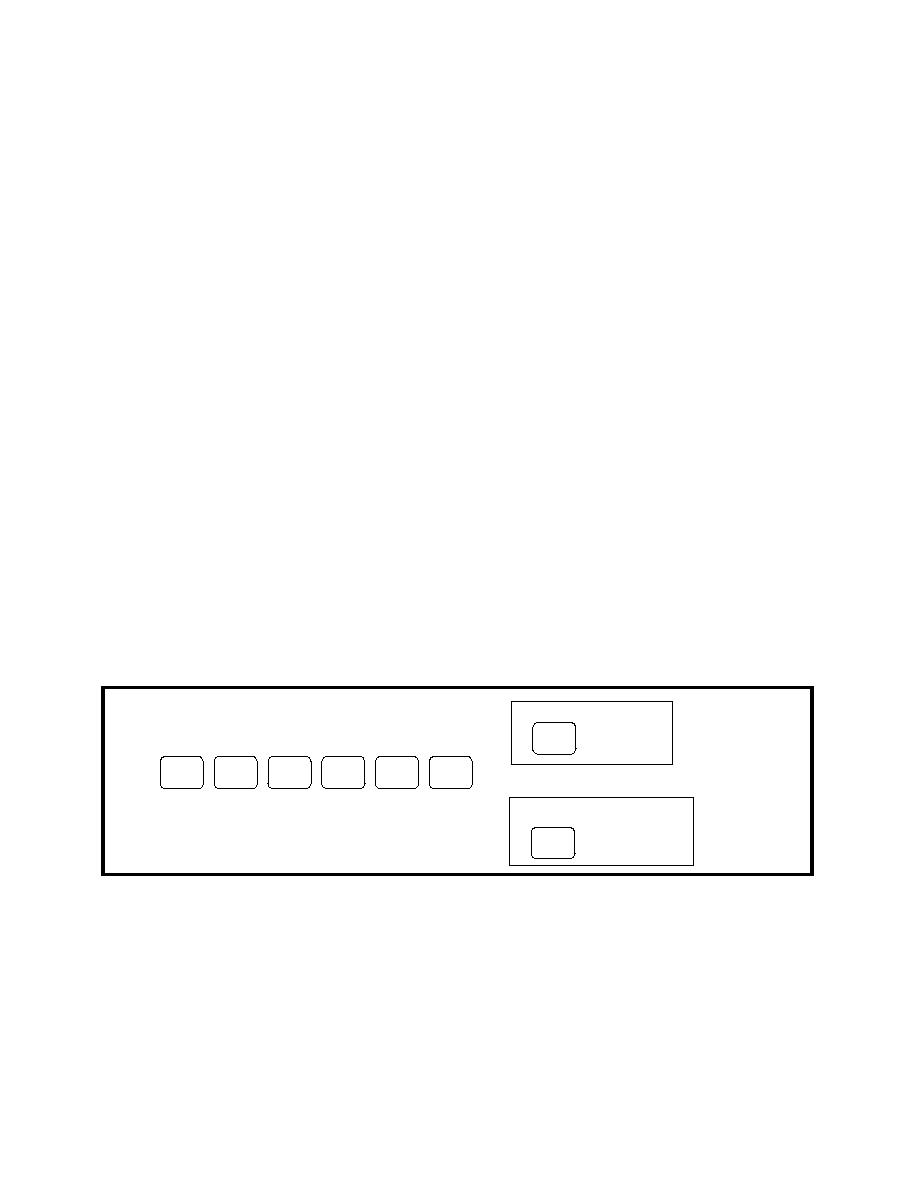
Printer Control Panel. Figure 4-2 shows the printer control panel.
PRINT QUALITY
SEL
MODE
LINE
FORM
PARK TOF/
HSD UTL
FEED
FEED
QUIET
NLQ
ALARM GROUP
ITEM
SET
PRINT
POWER
CHARACTER PITCH
10 12 17
20 PROP
Figure 4-2. Printer control panel.
QM6321
65


 Previous Page
